Many would argue that Valve’s Steam Deck did the same for mobile PC gaming as the Nintendo Switch did for the idea of a portable hybrid console.
They have a 7-inch 60Hz screen, a 4-core Zen 2 CPU, 8-core RDNA 2 graphics, 16GB LPDDR5 memory, and between 256GB and 1TB SSD storage. They are available in LCD and OLED varieties.
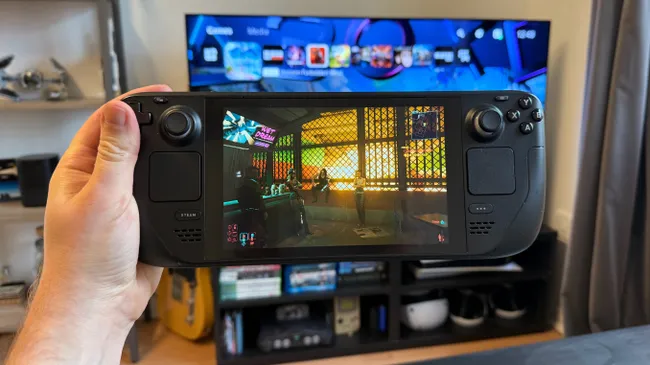
Supported by SteamOS, the portable lets players play most of the games on Valve’s wildly successful online store, Steam, which has been around since 2004. In our Steam Deck review, we commended the Steam Deck’s performance and versatility, but we also pointed out that SteamOS somewhat limited it.
The variety of games that can be played on the device is limited because it does not come with Windows 11 pre-installed, unlike more recent portable PC gaming handhelds like the ASUS ROG Ally. This implies that well-known titles like Alan Wake II and Fortnite, among others, cannot be played on the Steam Deck natively.
The Steam Deck doesn’t natively support the Epic Games Store, which is necessary for these games to launch. However, it’s not all lost because there are methods to get the software to work on the smartphone.
Table of Contents
Things You’ll Require
- Steam Deck
- MicroSD Card (optional)
- License for Windows 10 or 11 (optional)
Installing using Windows: A Comprehensive Guide
You can access the Epic Games Store directly by using a workaround to get Windows loaded on the Steam Deck. This is what you must do.
1. Download and generate an ISO file for Windows
You must first use a microSD card to build installation media before you can install Windows.
To get the Media Creation Tool and choose your Windows version, go to the Microsoft Windows software download website. To make the media, according to the tool’s instructions. Both a product key and a blank MicroSD drive with at least 8GB of space are required. To produce ISO files, you’ll also need the Media Creation Tool.
2. Make a microSD card that can boot Windows.
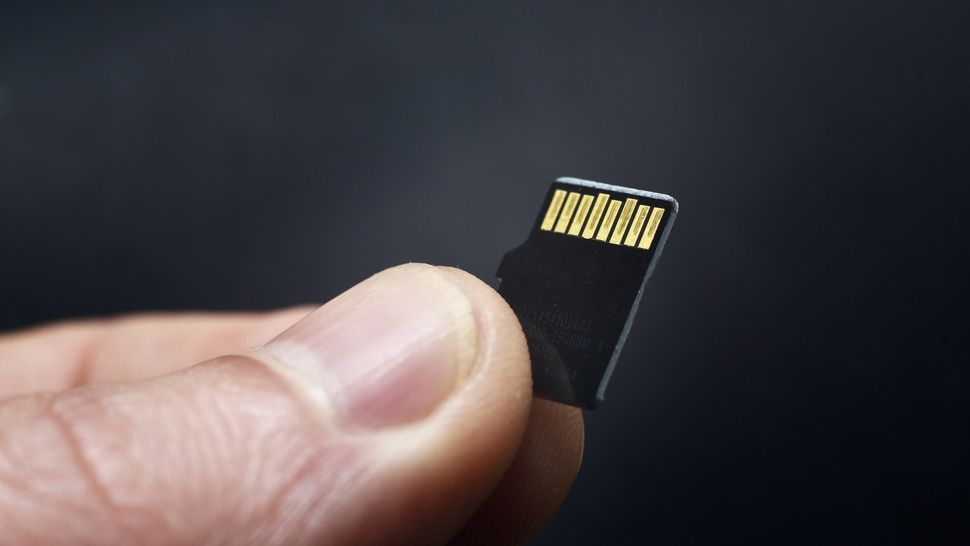
After obtaining your Windows ISO file using the Media Creation Tool, use the microSD card as the installation boot drive in your computer (you’ll probably need an adapter).
I’ll walk you through using Rufus, a free program, to accomplish this.
After inserting your microSD card into a USB converter or card reader, launch Rufus. Choose your microSD card under the “Device” tab. To find and launch your Windows ISO file, select “Disk or ISO Image” under “Boot Selection” and click “Select.”
Choose “Windows To Go” under “Image Option.” If you would like, you can give your microSD card a name in the “Volume Label” area.
To get started, click “Start.” You will be prompted to select the version of Windows to install in a dialog box.
Enable the suggested settings in the following window, including blocking access to the internal disk, avoiding the need for a Microsoft account, configuring regional settings, and turning off data collecting for privacy. Click “OK” to continue after verifying these choices. The bootable drive creation process will start with Rufus.
When finished, your microSD card will be prepared to be used as Steam Deck bootable installation media.
3. Install the Steam Deck’s windows
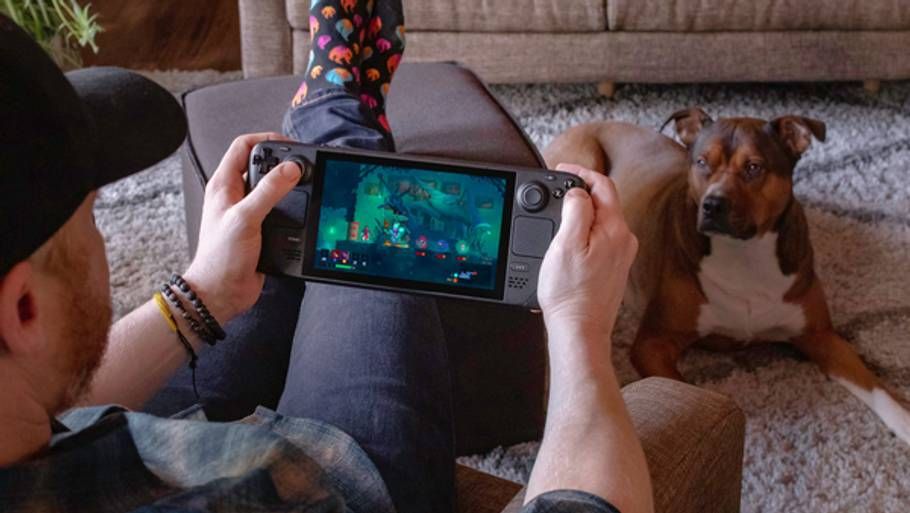
Keep in mind that there are three methods for installing Windows on the Steam Deck: dual boot, microSD boot, and booting over SteamOS.
The best and simplest way to access the Epic Games Store may be to run through the microSD boot, but the method is up to you.
Users should put the microSD card into the microSD slot and turn off their Steam Deck before doing anything else.
Hold down the volume down button, then push the power button. After the startup sound is heard, release both buttons.
The boot menu should be visible to users. Before hitting the A button to begin the installation, choose the microSD card.
Users should follow the instructions after installing Windows and refrain from choosing “I Don’t Have Internet” while configuring a Wi-Fi connection. The best way to modify the display settings in Windows is to change the orientation to landscape.
4. Setup a Drivers
When users try to connect to Wi-Fi, they will immediately encounter certain problems. This is due to the fact that customers will need to install the most recent drivers for Bluetooth, audio, and wireless internet.
Users of the LCD and OLED variants of the Steam Deck will need to install driver updates immediately.
5. Install the launcher for the Epic Games Store.
After Windows is configured, download the Epic Games Store using a browser. Install it as you would on a standard Windows desktop after downloading it. Simply sign up to create an account or log in after installation.
Installing via Proton: A Comprehensive Guide
The Epic Games Store and other Windows applications can be opened by the SteamOS software thanks to Proton, an installable interpretation layer that is made available through Steam. Without having to deal with a fresh Windows installation, it’s a less invasive method of getting the launcher to work on the device.
1. Install the launchers for Proton and the Epic Games Store.
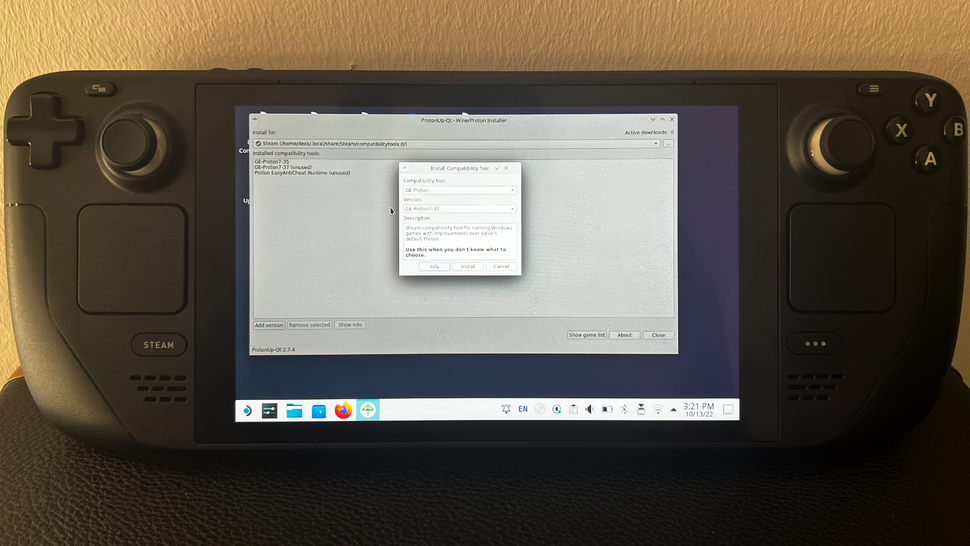
Navigate to desktop mode on SteamOS and launch Discover.
Look for “ProtonUp-Qt” and download the app.
Using Utilities, open ProtonUp-Qt from the app launcher.
Install the most recent version by clicking Add Version, and choosing GE-Proton.
Use the desktop icon to restart Steam. Download the Epic Games Launcher in a browser, but do not open it just yet.
Prior to browsing to /home/deck/Downloads/ and changing the file type to All Files, choose Add Game and then Add a Non-Steam Game.
Next, click Add Selected Programs after choosing EpicInstaller.msi.
2. Update the target location and force compatibility with Proton
Locate the EpicInstaller entry, then select Properties > Compatibility with a right-click (left trigger).
Choose the most recent version of Proton from the dropdown menu and check the box next to “Force the use of a specific Steam Play compatibility tool”.
To install, return to the Steam Library and run EpicInstaller.
Make sure you select “Show Hidden Files” from the menu when you open File Manager.
Navigate to the most recent updated folder,.local/share/Steam/steamapps/compatdata/[series of numbers], and then to pfx/drive_c/Program Files (x86)/Epic Games/Launcher/Portal/Binaries/Win32/.
Find EpicGamesLauncher.exe, then use the right-click menu to select Copy Location.
Right-click the EpicInstaller entry in Steam and change its name to something like Epic Games Launcher.
To update the renamed file target, paste the copied address in, preserving the quotations. Meanwhile, delete EpicGamesLauncher.exe, keeping the quotes in place.
3. Return to the game mode and open the Epic Games Store.

Return to the game mode and open Epic Games Launcher from your library’s Non-Steam Games tab.


3